Showing posts with label technology. Show all posts

Sunday, August 12, 2018

My Wonder Project

Inquiry opportunities provide students with opportunities to do research, collaborate, build interest and connect to real world issues.  In Elementary School settings, K- 2 teachers can set up inquiry stations so that children can enter in the mornings and choose to be curious from the start like the amazing Aubrey DiOrio and Caitlin McCommons in Wake County!  I learn so much from their leadership in Wake County, NC at Brier Creek Elementary School!  They piqued my interest on “Inquiry for Littles” at the 2018 NCTIES Conference which I blogged about and shared with my K-2 teachers.

Teachers can set up a more formal opportunity to explore topics that students generate based on their interests.  One way that I set this up is to have my Grades 3 - 5 students explore www.wonderopolis.org, choose a topic that they want to know more about and take notes on the topic in a Google Sheet.  I show them how to copy and paste the web address in the address bar into their Google Sheet along with their Question from Wonderopolis and a Summary of their reading.  I love Wonderopolis because it has topics organized by categories like Science, Technology, Social Studies and ELA.  Plus, a new article is written every day, Monday - Friday, and posted to Wonderopolis’ website!  Children can even listen to the article as a voice reads it aloud to support comprehension.

I model this process for my students by first sharing a topic about which I am interested that I found at https://wonderopolis.org/wonder/why-is-world-hunger-still-a-problem.
I place my Question in my Google Sheet of “Why is world hunger still a problem?” and summarize the Wonderopolis text in my Summary column of my Google Sheet.  Next, I show students a print resource called Beatrice’s Goat by Page McBrier.  After reading it aloud, I type a summary in my Summary section of my Google Sheet and include the name of the book.  In this book, a charity organization named Heifer International, provides a goat to a family in Uganda, Africa.  This goat provides milk and allows the family to sell the goat’s milk and milk products from the goat to members of their rural community.  The money that they make allows the family to send the daughter, Beatrice, to the community school and provides materials to build a sturdy house for Beatrice’s family.


Next, I go to https://www.sweetsearch.com/ and typed in Heifer International to learn more about this organization helps people around the world.  I love to also share a video about how to analyze a website using the acronym TRAAP which means:
T - Timeliness
R - Relevance
A - Accuracy
A - Author
P - Purpose

We analyze https://www.heifer.org/ which we found at the Sweet Search website and determine that it passes the TRAAP test.  I add this website as a resource to my Google Sheet and then summarize information that I learn about this organization in my Google Sheet. I am now ready to copy and paste my summaries into digital projects or record myself on Flipgrid to explain what I learned.

Once students had researched at least three topics at Wonderopolis, I had them choose their favorite topic to show what they had learned.  I have bookmarked at my website and placed in their Google Classroom a list of kid friendly search engines so that student could search for additional information on their topic found here:
-Sweet Search
-Safe Search Kids
-KidRex

As a way to have students share what they learned, I have students go to www.bighugelabs.com to create a digital project to showcase information learned.  I would show an example of a Trading Card and a Movie Poster that I would create using Big Huge Labs' website.  We pretend that a movie has been made about how to end world hunger and use my summary in the Big Huge Labs Movie Poster.

I also have children search for images for their Trading Card or Movie Poster at images.google.com and go to Advanced Search to filter for free images to copy and share.  Once I place the images in the Trading Card and Movie Poster, I copy and paste the poster into a Google Slide or Google Doc.  Kids could also do a shared Google Slide presentation and be assigned a slide where they would paste their Trading Card or Movie Poster about their Wonder Topic.  I love the versatility of the tools in Big Huge Labs because they allow children to create a quick project after reading about any topic, but in this case, they would have chosen a Wonder Topic at Wonderopolis.


I also give them choices to create Word Clouds using their Summaries.  Here is my Word Cloud Summary from “Beatrice’s Goat”:

Children are naturally inquisitive and want to know more about the world.  Giving them safe search sites and a note taking scaffold will help them as they continue to read for information and dive deep into inquiry.  They love to share what they have learned with others in Flipgrid and in shared Google Slides along with other tools like SeeSaw.  How do you provide opportunities for Inquiry and Wonder Projects with your students?

Bio of Lisa Maples:
Lisa Maples is the K-5 Technology Teacher at Elon Park Elementary in the Charlotte Mecklenburg Schools and a former 3rd and 4th Grade Teacher in Greensboro, Raleigh and Charlotte.  She is a National Board Certified Teacher and holds a Master's Degree in Reading from UNC-Greensboro.  As an NCTIES 2016 Outstanding Teacher Award recipient, a 2014 PBS Learning Media Digital Innovator and a Google Certified Educator, she provides multiple creation opportunities for students to create and make with Cubetto Robots, Sphero Robots, Code and Go Robots, Lego WeDo 2.0 kits, Keva blocks,  iPads, Chromebooks and Desktop computers.  Visit her blog to see reflections on her lessons at https://techencounter.wordpress.com/ and follow her on Twitter at @edu_maples.

Sunday, July 15, 2018

How should teachers use technology? Three ways to Strain out Unfocused Digital Learning Experiences

     I am an awful chef. One time, I was particularly excited about cooking a delicious pasta and vegetable recipe. However, when my taste-tester took his first bite, it was watery and the tastes were murky. Apparently, when you use canned peas, you are supposed to drain the pea water. Who knew? Well, when utilizing technology in the classroom, teachers sometimes use the latest digital tools without straining to determine the purpose of integrating the tool.
     Why does integrating technology bring upon sweaty palms even for the most competent chefs of educational pedagogy? Without setting an intention for the use of a specific digital tool, your lesson will water down the ultimate learning goal. According to ISTE standards for Students, students are labeled as “global collaborators” who “use technology seek feedback” with the goal of becoming “empowered learners.”

     I am sharing three ways to streamline the goal of utilizing digital goals to create a recipe of technology-integration success.

1. To Show Understanding: EdPuzzle (my favorite)
EDPuzzle allows students to view digital media with specific learning goals. Teachers can cut the video, add multiple choice/ short answer questions, and add voice overs/ comments. Teachers are able to either search from curated videos or develop their own by uploading videos and then provide digital feedback on student responses.

2. To Demonstrate Understanding: Mindmeister (digital organizers)
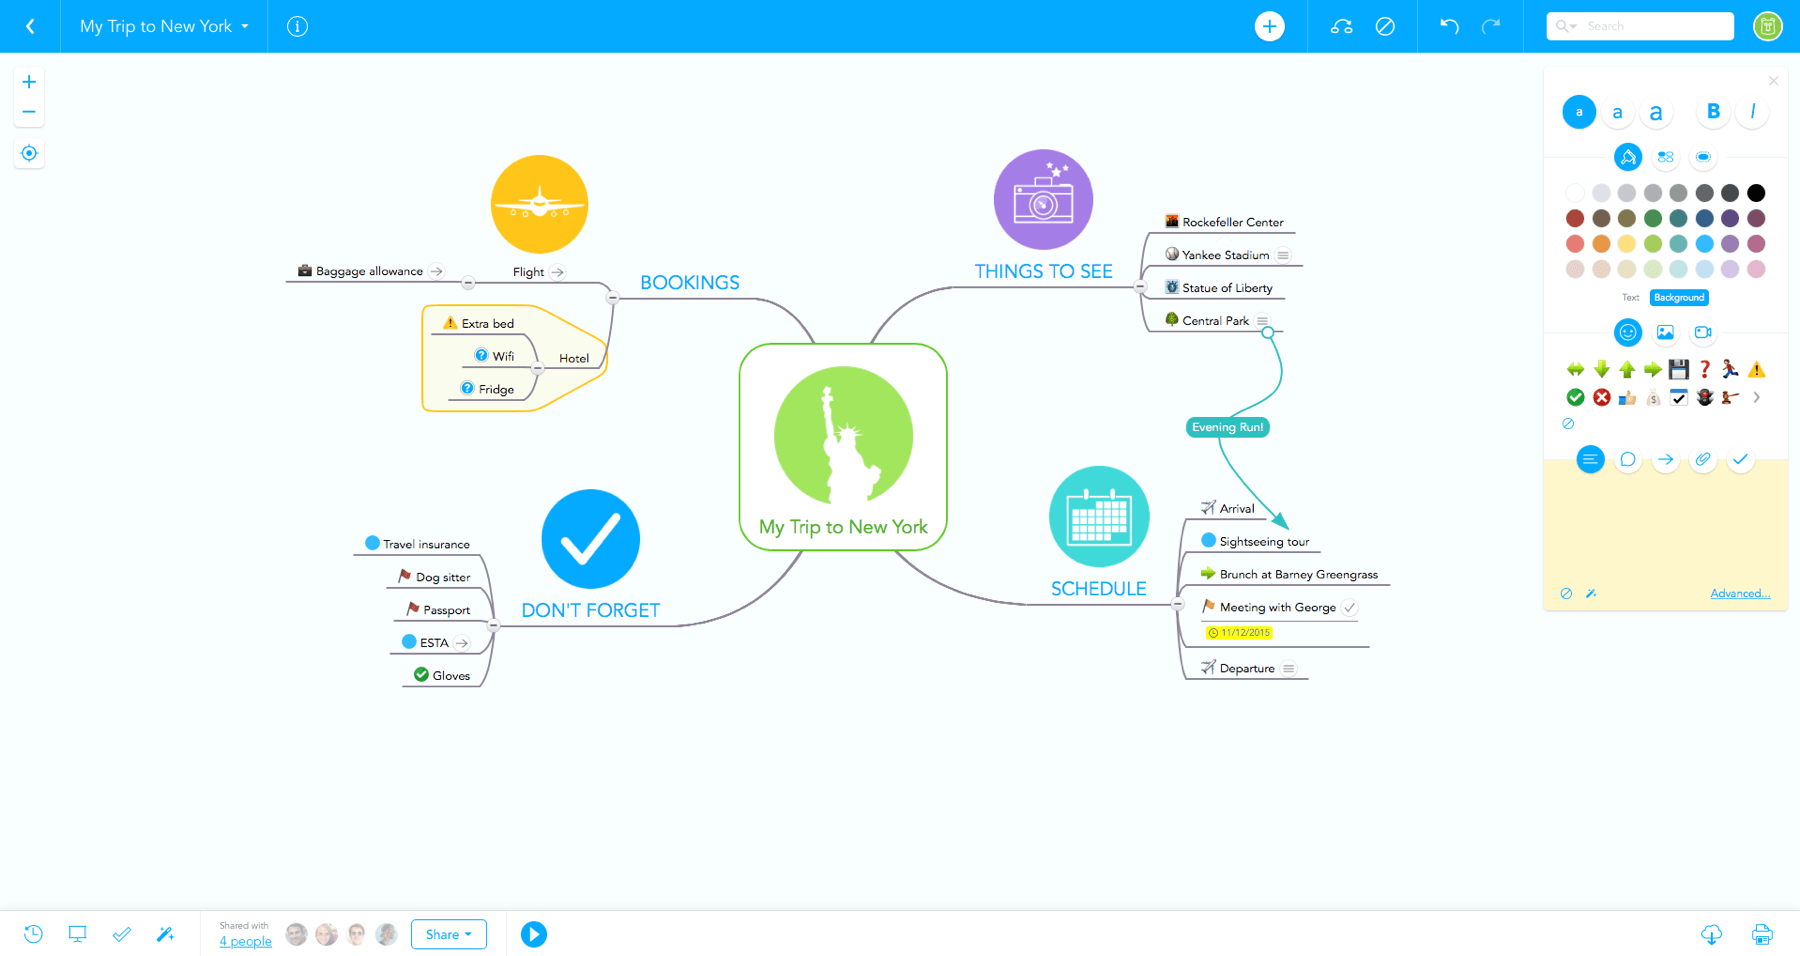
MindMeister has unlimited uses. Overall, it allows students to collaborate on a digital web that organizes information much like the synapses of the brain. Students can add questions and information, answer other students, or organize learning collaboratively.

3. To Experience Learning at a High Level: Weebly (online website builder)
Weebly’s simple interface and organized tool bar allows for quick website construction. Weebly allows you to drag and drop website elements onto the page almost like Lego construction.
     Gaming through Government, a Weebly learning experience that I designed, utilizes digital gaming, digital media on Edpuzzle, fast-paced quizzes on Quizizz, and a paper and pencil learning guide for students to document learning. The storyline of Gaming through Government is presented to students as an authentic context for playing the games, learning the content, and ultimately passing the five levels. Throughout the unit, students earn points to increase their rank from an intern to eventually the president. At the end of each level, students complete a Quizizz to demonstrate understanding of the learning goals.

My Findings
Students’ assessment scores increased by over 400%
91 % of students thought Gaming through Government was an effective educational experience
94% of students determined that learning experiences like Gaming through Government should be used in the classroom

     Even though I utilized several pedagogical strategies including game-based learning, gamified learning, and multiple digital tools, I strained out the extraneous elements that could have muddied the learning goals.  Just as you would add peas to a recipe, but do not want the whole dish taste like pea water, you want to add digital tools to a lesson, but with a clear goal in implementing the digital tool.

About the Author:
Rebecca Koza is in her 6th year teaching. She is currently a 5th grade teacher at The Arts Based School in Winston-Salem. She attended Wake Forest University where she earned a Bachelor Degree in Elementary Education with minors in dance and communication.  Rebecca also has her Master of Science in Education focused in Technology for Educators from Johns Hopkins University and her AIG certification from Wingate University. Rebecca enjoys using the arts and technology to develop high-level learning experiences for students.

Sunday, January 8, 2017

Who Are Your Students Writing For?

Have you ever stopped to think who your students are writing for?  If no one comes to mind then it is probably you!  Should students write for teachers?  Of course!  We are there to offer guidance and support but we want our students to become independent of us.  We want them to become authors, writing for a wider audience.

Students need to know why they are writing and who they are writing for. Authors write to share their ideas and creativity to the world and young writers need the same motivation. How many times during a day do you hear your name called and students say “look at this?” Students love sharing their work with teachers, parents and their peers. Even better young writers love sharing their pieces with anyone. 
How do you get your students to feel like authors? First they need to discuss their writing with their peers. Practice having students work in partners. Model how to ask questions about their pieces. Students gain more ideas about their writing when a partner asks questions about their pieces. Feedback drives students to write more adding details that answer their audience’s questions.

Digital publishing is another way for students to share their writing with a bigger stage. Digital publishing puts emphasis on a completed piece of writing and a quality piece of work. Digital writing is almost always meant for an audience. When students know they are writing for someone else besides the teachers it motivates them to do their best. 

Having students write in  Google Docs is an easy way to publish and share a digital piece. It is accessible from anywhere and is easily shared through a google account or shareable link. What is also great about using google documents is that teachers, parents and peers can give feedback right onto the document itself.
Chatterpix is another great way for young writers to publish their pieces. This free app allows students to record and animate their writing, which allows students practice reading their pieces for fluency. To use Chatterpix, students snap a picture of their writing and save it to the camera roll. Next, they open the Chatterpix app and upload picture. They then swipe across the picture to animate it. Lastly, they hit the record button and read their writing.

 Students can also add an illustration that goes with their writing and read as the picture talks.
After reading Spookley the Square Pumpkin, my students wrote about how to be a nice friend. Then they drew a picture to upload to Chatterpix and recorded themselves reading their piece. To publish their pieces, I made QR codes and placed the pumpkins in the hallway for everyone to scan. Sticky notes were placed beside each picture so anyone that listened could leave a comment. This is a simple way to publish to a wider audience. Students get really excited when they see that someone listened to their writing and left a comment. Follow the link below and see our adorable Spookleys.

Once young writers have the experience of talking about their writing, receiving feedback from their audience and having a platform to publish they will not only begin to see themselves as authors, they will become authors.

About the Author 

Lisa Fain is a NBCT who has been teaching for 23 years. She is a First Grade teacher who enjoys integrating technology into her classroom. She blogs at The Primary Sisters with her sister who also teachers First Grade with her at the same school. 


Sunday, December 11, 2016

Making Learning Visible Using Technology Tools

By Nancy Penchev

Technology is an amazing tool that can be used by both teachers and students to create, expand, and encourage learning. Using technology to make learning visible gives students ownership over their work and let’s them have freedom of expression. By providing students with an authentic mode of assessment, teachers are building in higher order thinking skills. But what tools are there that can be used that are simple, easy, and affordable? What tools can be used on iPads, Chromebooks, or other tech? Here are several technology tools that I love and students have enjoyed both viewing and using.

Presentations
MySimpleShow- This is a newer tool for me. They are a very responsive company and want to learn how teachers are using their tool. This tool allows you to create a movie, fairly quickly and easily. The movie shows pictures that match your words, can feature your voice or a voice provided by the company, and looks professionally made. This is a free, online tool so it can be accessed no matter what device you have. After publishing your video, you can upload to YouTube or other video sharing platforms or download as MP4 file.  MySimpleShow teacher example


Chatterpix/Blabberize- Chatterpix is an iOs app and Blabberize is an online version that makes a similar style presentation. They are both free and easy. In three steps you can create a cute, easy presentation. You upload a picture, draw a mouth, and record your voice. These tools are great for book reports, Science, and Social Studies. Chatterpix saves to your camera roll, making it easy to app smash and present with other presentation tools. Blabberize has been known to have glitches and saves to your computer.


Sock Puppets- Students love this iOs app. It is fun, fabulous, and free (but can purchase upgrades). In this simple app you select the puppets you want in your show, pick a background or upload the background of your choice, select your props, then record the message. The app changes your voice to a cartoon voice. The puppet’s mouths move based on the message recorded.


Tellagami- This presentation tool is another free, but upgrades available for pay. With this tool you create a gami (character), add a background of your choice or one preloaded, then record the message. You get 30 seconds on the free version. If you want more time you can pay to upgrade or simply record and save continually, then upload into Perfect Video to put the longer version together.


Perfect Video- Perfect Video is an iOs app that allows you to app smash, which means put together several projects into one presentation. With Perfect Video you can put together all the projects from the apps above. You can add text and voice.


Writing Technology Tools
Snap n Write- This is a great tool for having students create a postcard. It is simple and easy to use. You click the + sign to add text or pictures, add the “address”, and the stamp. My favorite part of the app is adding a stamp with the location. This is perfect for teaching students about summaries because they do not have a lot of room on the message portion. Once complete, you can save the postcard to your camera roll and app smash it into Perfect Video for a book report or other presentation. You can also print it, share it through email or social media. I put together a few different postcards into Perfect Video to make an example.

Mind maps- Popplet is a great tool to create mind maps. It is an iOs map, as well as a website. This can be used to do vocabulary maps, to organize ideas for writing, and as a note taking form during research. Mindmeister is a free tool similar to Popplet, but is a Chrome app. You can create mind maps and workflows.

Word Clouds- Tagxedo is a website, Word Clouds is an iOs, Quora is a Chrome app. All of these tools allow you to input a group of words and create a cloud of words. Students can paste words from their own writing, copy and paste from primary source documents, and many other ways.

For how to guides on these tools and more, check out my blog: www.nancypenchev.edublogs.org.
Nancy Stone Penchev is a Coding/I LAB Teacher and Instructional Technology Coordinator for grades K-5th grade. She has 18 years of teaching experience. Her degrees include a Bachelor’s in Elementary Education, Masters in Early Childhood, Masters in Instructional Technology, and she is currently working toward an EdD in Instructional Technology and Distance Learning. Nancy’s conference presentations include local, state, and international conferences. She has published articles about technology in Teaching in the Middle magazine, Association of Middle Level Educators, ISTE point/counterpoint, and was a focus for an article from Coca-Cola on 9 Ways Technology is Transforming the Classroom. She is an ambassador for Weebly, Commons Sense Media,and Wonder Workshop and was a local award winner for the National Council for Women in Information Technology.


Sunday, November 27, 2016

EdCamp Queen City: Makerspace, Motivation and Much More

By Dr. Nancy Betler
Picture
Picture

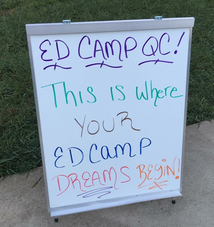
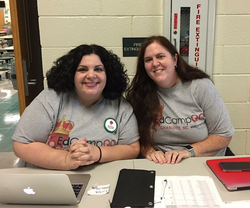
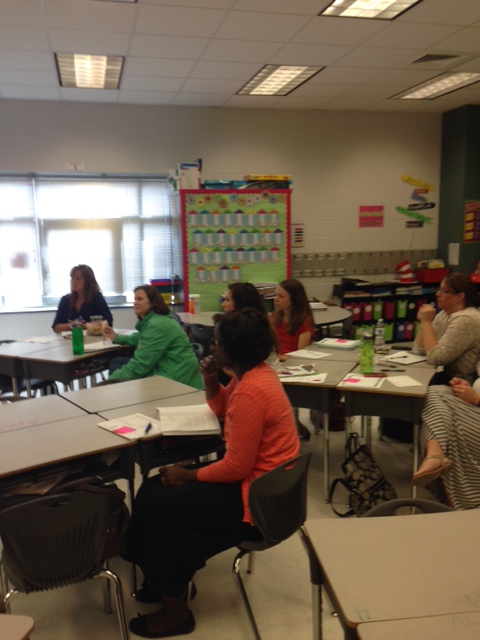
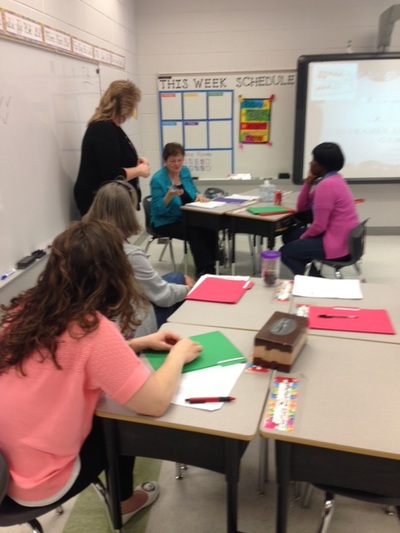
On October 1st the third annual EdCamp Queen City (@EdCampQC) was held at Barringer Elementary School in Charlotte NC.  EdCamps are an incredible trend in professional development where the participants guide the training.  I was fortunate to once again be part of a group of dedicated educators who organized this event.  It was an exciting Saturday of learning and growth!
The day started with an overview of EdCamps given by Nathan Stevens (@nathan_stevens).  Nathan shared how the day would run and that the participants had an opportunity to attend sessions that they felt best met their learning needs. The participants not only choose the sessions at EdCamps that will be offered that day but also decide which of those sessions best meet their individual professional needs.

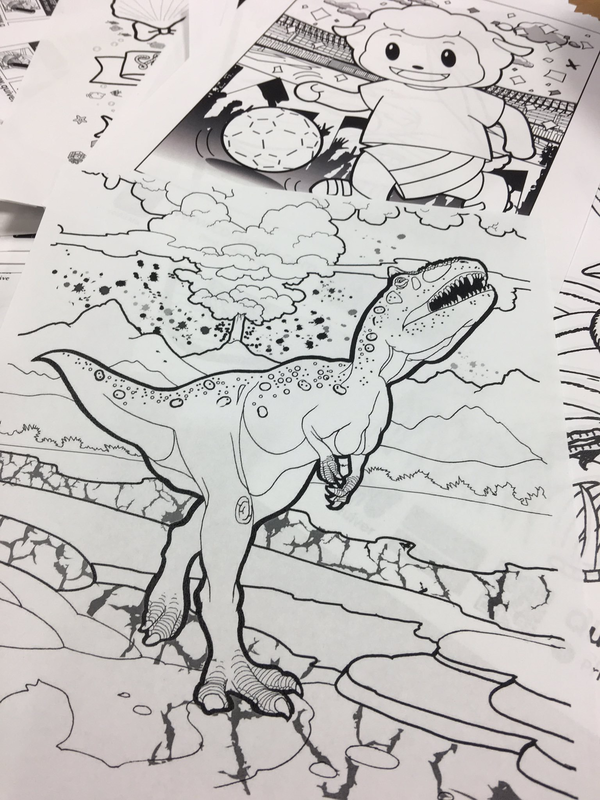
One of my favorite parts of the day was the MakerSpace. In the MakerSpace teachers were able to test out and learn about different tools to use with their students.  Something new I learned about while in the MakerSpace was the augmented reality app Quiver (@quivervision).    Students are able to color and draw pictures and then see them come to life! This is a great tool to use with your students for story writing.  Since EdCampQC I have used this app with several of my students and have seen an increase in not only the amount of text but in the details in their writing.

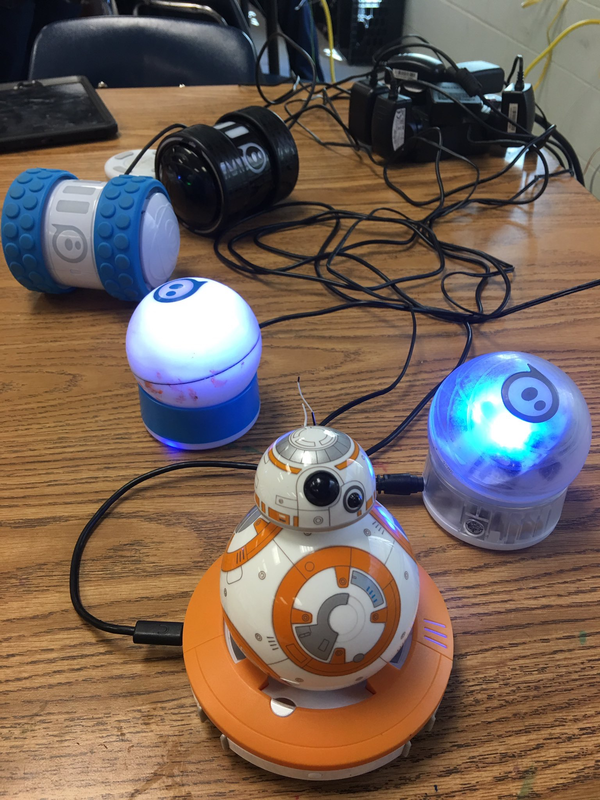
Another tool that I enjoyed using that day was Sphero (@sphero).  I have used Sphero before with my students but loved seeing all the different Sphero options available.  The brainstorming of ideas with other participants was also amazing!  I learned new strategies to use with my students.  I came back after EdCampQC and was able to share a lesson, Rate Time and Distance, which another teacher suggested with my students.   This lesson is part of the SPRK education program website but I had never used it before.  My students loved it and I plan to use more lessons off the site.

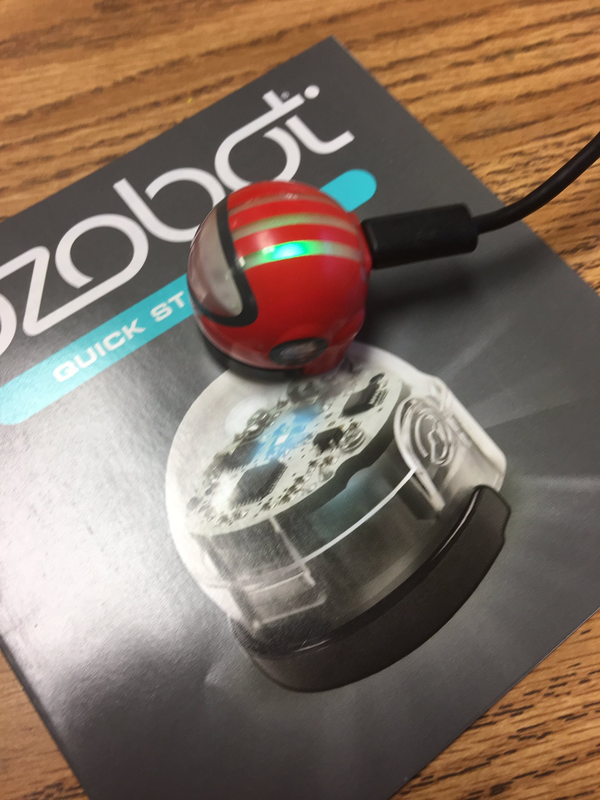
Ozobot (@Ozobot) is a robot that I had heard about and seen in use but had never used myself prior to EdCampQC.  Ozobot is a tiny robot designed to teach kids coding and programming basics.  It is an engaging and easy robot to use with younger as well as older students.  One idea that was shared was having the Ozobot be Little Red Riding Hood and having Kindergartners code how she gets to Grandma’s House!  With Ozobot students have the opportunity to be creative and have fun while they learn.     

Picture

Bloxels Builders (@bloxelsbuilders) is another tool that I was able to use in new ways as a result of the MakerSpace.  Bloxels is a hands-on platform that gives kids a chance to build, collaborate and tell stories through video game creation.   There is a free app available as well as a board that you can purchase.  I am currently hoping to get five sets of the board through my Donors Choose (https://www.donorschoose.org/project/creativity-and-critical-thinking-through/2285129/) project.  One teacher in the MakerSpace shared how she is using Bloxels to help students visualize their creations prior to writing.  This is just one idea I hope to use in the future with my students.

I love MakerSpaces and found the one at EdCampQC to be extremely valuable. I spent a lot of my time at EdCampQC in the Makerspace.  I appreciated sharing and learning about strategies and resources to use with my students.  I finally left the area to attend other sessions but found it to be one of my favorite parts of the day.

After leaving the MakerSpace I went to the session on Breakout EDU (@BreakoutEDU).  Although there were many valuable and interesting sessions available this another area that really peaked my interest.  I had attended a session on Breakout EDU at EdCamp Foothills (@Edcampfoothills) but wanted to learn even more about it.  I appreciated the participant and leader excitement and the group was able to breakout!  The more I see this tool in action the better I understand it and the different applications it can have in the classroom.  There are hundreds of free lessons on the Breakout Edu website and they are not only student but teacher friendly.  I love this creative tool and look forward to using it with my students.

As I end this blog post I feel that it is important to note that EdCamps are made even more special through the support that teachers receive from the different educational companies. Squirrels (@squirrels) donated our lunch that day. Yum!  It made everyone’s day to feel so appreciated. Teachers also had the chance to win fabulous door prizes to use in their classroom.   As I have said before it is fantastic that so many different education companies understand the value of EdCamps.  Thank you to Squirrels and all the other companies that donated that day!

EdCamps are amazing and I love to attend them.  I always leave with new strategies and ideas.  I also love the fact that I helped to make this particular EdCamp a success.  I can’t wait to start planning the fourth EdCamp Queen City!

Picture
Dr. Nancy Betler is a Talent Development Teacher at Eastover Elementary and primarily works with gifted and high-ability students in grades K-5.  As a National Board Certified Teacher, she fully embraces life-long learning and has recently earned her doctorate degree.  Nancy is also heavily involved with the North Carolina Association of Elementary Educators (NCAEE) and serves as a Board Member. She looks forward to connecting with you on Twitter @nbetler and being a part of your PLN!

Sunday, May 4, 2014

Region 2 Conference Reflections

by Susanne Long

On Saturday, April 26, 2014, the Region 2 Conference was held for the first time in Onslow County at Stateside Elementary with 96 teachers attending.  Mrs. Carrie Morris, 2013-2014 Southeast Region Teacher of the Year, kicked off the event with a reenergizing message of how vital we each are, every day, in transforming our delivery of instruction, transforming our community reach, and most importantly transforming the lives of students.  We, as educators, truly are “more than meets the eye.”


Twenty four facilitators presented 22 engaging session topics including: problem solving, building reading stamina, STEM/STEAM, teaching in a global world, purposeful talk in math, foldables, and instructional intervention strategies for at-risk/EC students.  Participants were engaged in meaningful hands-on activities, learning how to foster understanding of critical vocabulary, boosting math PLCs and oh, so much more!  


The session on QR, quick response, and AR, augmented reality, codes was enough to get your mind reeling for months as to the transformation possibilities for your classroom, grade level or school. Besides the new strategies learned, great dialogue and collaboration, 12 participants went home with some awesome prizes!  A special note of thanks to Peggy Gooch, Blanchard Educational Services, for donating leveled texts and big books.       


If you missed the conference, it’s okay. Educators like to share! The handouts, resources, and snapshots from the conference can be accessed by any teacher on our regional website.   


As we enter the last thirty days or so of instructional time, we applaud everyone’s commitment to reach students and truly transform lives!  We hope to see you in October in Charlotte for the 11th Annual Elementary School Conference!


trans•for•ma•tion: noun: a complete or major change 
a : to change in composition or structure 
b : to change the outward form or appearance of 
c : to change in character or condition : CONVERT 


Susanne Long began her career teaching elementary school in North Carolina. After completing the NC Principal Fellows Program, Mrs. Long had the opportunity to serve as an elementary and middle school principal. Mrs. Long is one of 103 principals that completed the National Board Certification pilot for principals and is awaiting feedback. She currently serves as the Director of Curriculum, Research, and Development in Onslow County and serves as the Region 2 Director on the NCAEE Board. 


Friday, April 11, 2014

A Coding Breakthrough: My Experience with Coding

by Renee Peoples


“Coding? That is crazy. I teach elementary school!  They can't write code to program computers at this age.” As a third grade teacher, I had NO interest in doing coding with my students when I first heard about it. Just the idea of writing a program for a computer seemed way too difficult for me, let alone eight and nine year olds. Just before Christmas I heard about it again. My mind was more open then because I was looking for something to do that was not a waste of time the last few days before we had break. Watching movies and coloring pictures seemed boring, and we had done all the crafts that I could stand to do.   So this time, it piqued my interest. With no honest idea of what I was getting into, I signed my class up on a free site for children of all ages to learn how to code (code.org), and off we went.

Day 1- The next day I presented it to my students, who caught my skepticism and were not too interested. I had some Chromebooks and iPads that I had secured for my students, thanks to Donors Choose. I also brought my own personal iPad from home so that every student could have a device to use. They used the class code that was provided when I signed the class up, and logged in and gave it a try. It took about five minutes to hook every single child. It starts off with teaching students how to command an Angry Bird where to move. As you would expect, that had a lot of appeal to my students. Immediately, they learned to write the code to move the Angry Bird where they wanted it to go. There are teacher lessons on the website and those created even more interest for the students. When they had to write directions for another group to follow, they started to understand why precise directions matter for a computer program. It took them about 30 minutes online to be better at it than I could keep up with, and I could not even offer them any assistance when they couldn’t get it to work. They were very willing to help each other, though. Within a few hours, I had done a mini lesson on the degrees of angles and watched students write the code to adjust their angles. They discussed it with each other and said things like, “Really, the 120 degree angle was too big, you may need to try 110 instead.” By lunch, they complained that they had to eat when they could be writing code. Students were comparing levels and trophies given for achieving certain levels before the end of the first day.  

Day  2- The class rushed in the door, grabbed a computer or an iPad before the announcements and pledge were even done, and got to work. Students helped each other when they got stuck, showed the items they had written code to draw and came to an agreement that I needed to spend more time learning how to write code so I could keep up with them. They literally spent every minute of the day engaged and happily learning how to write code. By the end of the day, they were feeling sad for students who were, “wasting the day on movies and parties when they could be writing code like us!"  They were really able to do a LOT more than I gave them credit for when I first heard about the opportunity to write code. Maybe I found something productive, without even understanding what I was doing.

Day 3- I may as well have stayed home because my students walked in and got on a computer or iPad, taught themselves until it was time to go home and asked me if it was alright for them to write code over the two week break. Of course, I said yes! They also reminded me that I better get to work if I was ever going to catch up with them.


Three Months Later- My students were invited to come (along with local companies, Google, Duke, area colleges) to a Manufacturing Awareness Day to share their coding experience with middle school and high school students in our county and show some of their code. I took six students there to spend the day showing what they could do. The highlight of my day was the high school student who was not impressed and said, “I know how to write REAL code so I don’t need to see play code.” I convinced him to just watch one child, and within minutes he was totally impressed by the coding skills of my third grader. After watching, he told me, "They can do anything I can do!”

Even if you teach third grade and have no time for anything extra, you can sneak a bit of coding between portfolios and parent conference, Read To Achieve letters and BOG tests. Who knows? Maybe the logical thinking they learn in code may help them have more success in math and reading! Give it a try! It was the best thing I ever got into without a real plan and, next year, it will definitely be in my plan.

Renee Peoples is a National Board Certified third grade teacher at Swain West Elementary. She has taught every grade from preK to 5th grade and been in administration in her 30+ years in education. She serves on the NCAEE board. Although she has taught conferences and training for adults (including college level courses) for many years, she always returns to her her first love- teaching children. 


Sunday, January 5, 2014

Help! I Have To Use Technology with K–2 Students!

Guest Blog by Tya Tyrell

I have often heard K–2 teachers ask “How do I integrate technology when many of my students are just learning to read and write?” Well I have a solution for you. In this blog post, I will share some ideas for simple and engaging ways to integrate literacy and technology. There are only a few steps in order for you to get started.

Integrating Technology with Ebooks
My school uses the Being a Writer™ program, which includes the writing process as students learn to write. One simple way of including technology is publishing student work through an eBook. After completing a unit in Being a Writer, students have written a story that’s ready to be published. I ask my students to pick out a piece they would like to make into an eBook. You can use PowerPoint to create an eBook. Here are the steps:
  1. Simply have the students create a slide for each section of their story (beginning, middle, and end, or chapters).
  2. Don’t forget a Title Page slide.
  3. Once the students have typed their story, show them how to import clip art or pictures from a file to help enhance their story.
This is just one way of creating an eBook. If your students are more advanced with the use of technology, try Bookbuilder.cast.org or Studentreasures.com. Here, students can type, draw, and import pictures to create eBooks, or they can turn their books into published pieces (either paperback or hardbound).


Virtual Field Trips to Integrate Technology
Another way to integrate technology with literacy is to create a virtual field trip to meet the Common Core Standard of asking and answering questions. A virtual field trip is a way to have students explore one or more designated websites while purposefully reading for information. As a teacher you will need to set a purpose (for example, visit Sea World to learn about ocean life) for your virtual field trip as well as a list of questions based on what you want the students to visit. I use open-ended questions to check for understanding rather than short, one-word answers. I create questions according to my students’ abilities.

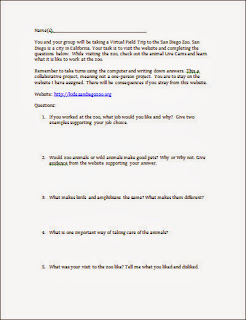
You can see an example of a virtual field trip form by clicking on the image on the right. The virtual field trip my students love is a trip to San Diego Zoo. They have live webcams and a kid section including audio for non-readers as well as games. This form is a Word document that you can customize with your own questions.
Some of you might ask how I manage a virtual field trip in my classroom. I have students in pairs or small groups to work on answering questions. Every day, a few groups of students use the computers during literacy block time. I have bookmarked the website they are to use and modeled how to use the Internet and the website. With the younger grades, I only have the students use one website with links from that website. For instance, I use kids.sandiegozoo.org, where there are no ads for the kids to accidentally click on and many links to navigate.


Tya Tyrrell is a second-grade teacher in North Carolina. She has been teaching for eleven years and has completed her National Boards Certificate and has a masters degree in elementary education. Additionally, she has Gifted and Intelligence License. Tya also works part time as a consultant with Developmental Studies Center.