Sunday, January 22, 2017

Make it Memorable

The field of education is slowly becoming mechanical.  Teachers are expected to complete more paperwork and prove that their students understand the concept using a variety of data points.  School days are micromanaged to the minute of what students are expected to be doing, where they go, and how they complete certain activities.  With our endless checklists and constant hustle to get from one activity to the next, we often forget to engage students to the point where we make learning memorable.

What are your students going to remember about your class next year? What will they remember when they their 30s?  Our students deserve to have fond memories of their elementary years. It is our duty to create safe places for our students to learn in a more memorable way.  Open your mind and think outside of the box.  What Problem Based Learning (PBL) ideas can you use?  Can you base your entire unit around one concept or idea?

This year in my third grade class we based our entire Forces and Motion, Heat Transfer, and Matter units on real-life events.  Through teaching in this manner I noticed that my students more engaged than with our normal science experiments and PBLs.

During these units we used the World Series to study forces at work in baseball.  We connected with what students were learning about in reading by experimenting with the Titanic.  We then completed a school-wide PBL on the Miracle on the Hudson, with each grade level connecting this event to their standards.  Every grade level visited Carolinas Aviation Museum in Charlotte to view the actual Miracle on the Hudson airplane. The museum staff adapted their centers to tie into each grade level’s PBL.

We brought in a passenger from the Miracle on the Hudson to speak to the students about her experience on this flight.  The next day students arrived to see our classroom transformed into an airplane.  I portrayed a flight attendant, checking tickets for every student that boarded Flight 1549.  The tickets were created with real passenger names and seats.  We watched the safety video, then followed the audio from the cockpit as the plane descended into the Hudson River.  Students had to brace for impact and escape once the plane crash landed.


We had a discussion about the science behind the crash, then wrote stories from the point of view of the passengers on board.  We designed and weighed down paper airplanes with paperclips, then performed water landings using these airplanes.


We then paired with fifth grade and researched aviation throughout history.  Each class built a large model airplane of their assigned era.  Classes were split into six groups.  Five of these groups built one part of the airplane.  Group six was responsible for identifying problems during the building process and for putting the entire plane together.  Each group had to perfect their communication skills to make sure their airplane was symmetrical, that the sections fit together and that each piece was proportional.


As a culminating activity, our school partnered with Carolinas Aviation Museum for a Night at the Museum with stations set up for each grade level to showcase their products.  All of our families were able to attend for free.

The whole school PBL idea involved all of our students and made learning the curriculum memorable. These types of lessons and events are what make school more engaging and unforgettable.  I want to challenge you to make your teaching memorable.  Find more ways to bring excitement into your day.


About the Author:
Megan Charlton is a third grade STEM Teacher at Patriots STEM Elementary School in Concord, NC.  She has taught Kindergarten, Fifth Grade and Third Grade.  She is in her 12th year of teaching, all of which have been in North Carolina.  She graduated from Kentucky Christian University with a B.S. In Elementary Education and Bible.  Mrs. Charlton serves on the NCAEE Board as Teacher At Large.  She blogs at www.CharltoninCharge.com.

Sunday, January 8, 2017

Who Are Your Students Writing For?

Have you ever stopped to think who your students are writing for?  If no one comes to mind then it is probably you!  Should students write for teachers?  Of course!  We are there to offer guidance and support but we want our students to become independent of us.  We want them to become authors, writing for a wider audience.

Students need to know why they are writing and who they are writing for. Authors write to share their ideas and creativity to the world and young writers need the same motivation. How many times during a day do you hear your name called and students say “look at this?” Students love sharing their work with teachers, parents and their peers. Even better young writers love sharing their pieces with anyone. 
How do you get your students to feel like authors? First they need to discuss their writing with their peers. Practice having students work in partners. Model how to ask questions about their pieces. Students gain more ideas about their writing when a partner asks questions about their pieces. Feedback drives students to write more adding details that answer their audience’s questions.

Digital publishing is another way for students to share their writing with a bigger stage. Digital publishing puts emphasis on a completed piece of writing and a quality piece of work. Digital writing is almost always meant for an audience. When students know they are writing for someone else besides the teachers it motivates them to do their best. 

Having students write in  Google Docs is an easy way to publish and share a digital piece. It is accessible from anywhere and is easily shared through a google account or shareable link. What is also great about using google documents is that teachers, parents and peers can give feedback right onto the document itself.
Chatterpix is another great way for young writers to publish their pieces. This free app allows students to record and animate their writing, which allows students practice reading their pieces for fluency. To use Chatterpix, students snap a picture of their writing and save it to the camera roll. Next, they open the Chatterpix app and upload picture. They then swipe across the picture to animate it. Lastly, they hit the record button and read their writing.

 Students can also add an illustration that goes with their writing and read as the picture talks.
After reading Spookley the Square Pumpkin, my students wrote about how to be a nice friend. Then they drew a picture to upload to Chatterpix and recorded themselves reading their piece. To publish their pieces, I made QR codes and placed the pumpkins in the hallway for everyone to scan. Sticky notes were placed beside each picture so anyone that listened could leave a comment. This is a simple way to publish to a wider audience. Students get really excited when they see that someone listened to their writing and left a comment. Follow the link below and see our adorable Spookleys.

Once young writers have the experience of talking about their writing, receiving feedback from their audience and having a platform to publish they will not only begin to see themselves as authors, they will become authors.

About the Author 

Lisa Fain is a NBCT who has been teaching for 23 years. She is a First Grade teacher who enjoys integrating technology into her classroom. She blogs at The Primary Sisters with her sister who also teachers First Grade with her at the same school. 


Sunday, December 11, 2016

Making Learning Visible Using Technology Tools

By Nancy Penchev

Technology is an amazing tool that can be used by both teachers and students to create, expand, and encourage learning. Using technology to make learning visible gives students ownership over their work and let’s them have freedom of expression. By providing students with an authentic mode of assessment, teachers are building in higher order thinking skills. But what tools are there that can be used that are simple, easy, and affordable? What tools can be used on iPads, Chromebooks, or other tech? Here are several technology tools that I love and students have enjoyed both viewing and using.

Presentations
MySimpleShow- This is a newer tool for me. They are a very responsive company and want to learn how teachers are using their tool. This tool allows you to create a movie, fairly quickly and easily. The movie shows pictures that match your words, can feature your voice or a voice provided by the company, and looks professionally made. This is a free, online tool so it can be accessed no matter what device you have. After publishing your video, you can upload to YouTube or other video sharing platforms or download as MP4 file.  MySimpleShow teacher example


Chatterpix/Blabberize- Chatterpix is an iOs app and Blabberize is an online version that makes a similar style presentation. They are both free and easy. In three steps you can create a cute, easy presentation. You upload a picture, draw a mouth, and record your voice. These tools are great for book reports, Science, and Social Studies. Chatterpix saves to your camera roll, making it easy to app smash and present with other presentation tools. Blabberize has been known to have glitches and saves to your computer.


Sock Puppets- Students love this iOs app. It is fun, fabulous, and free (but can purchase upgrades). In this simple app you select the puppets you want in your show, pick a background or upload the background of your choice, select your props, then record the message. The app changes your voice to a cartoon voice. The puppet’s mouths move based on the message recorded.


Tellagami- This presentation tool is another free, but upgrades available for pay. With this tool you create a gami (character), add a background of your choice or one preloaded, then record the message. You get 30 seconds on the free version. If you want more time you can pay to upgrade or simply record and save continually, then upload into Perfect Video to put the longer version together.


Perfect Video- Perfect Video is an iOs app that allows you to app smash, which means put together several projects into one presentation. With Perfect Video you can put together all the projects from the apps above. You can add text and voice.


Writing Technology Tools
Snap n Write- This is a great tool for having students create a postcard. It is simple and easy to use. You click the + sign to add text or pictures, add the “address”, and the stamp. My favorite part of the app is adding a stamp with the location. This is perfect for teaching students about summaries because they do not have a lot of room on the message portion. Once complete, you can save the postcard to your camera roll and app smash it into Perfect Video for a book report or other presentation. You can also print it, share it through email or social media. I put together a few different postcards into Perfect Video to make an example.

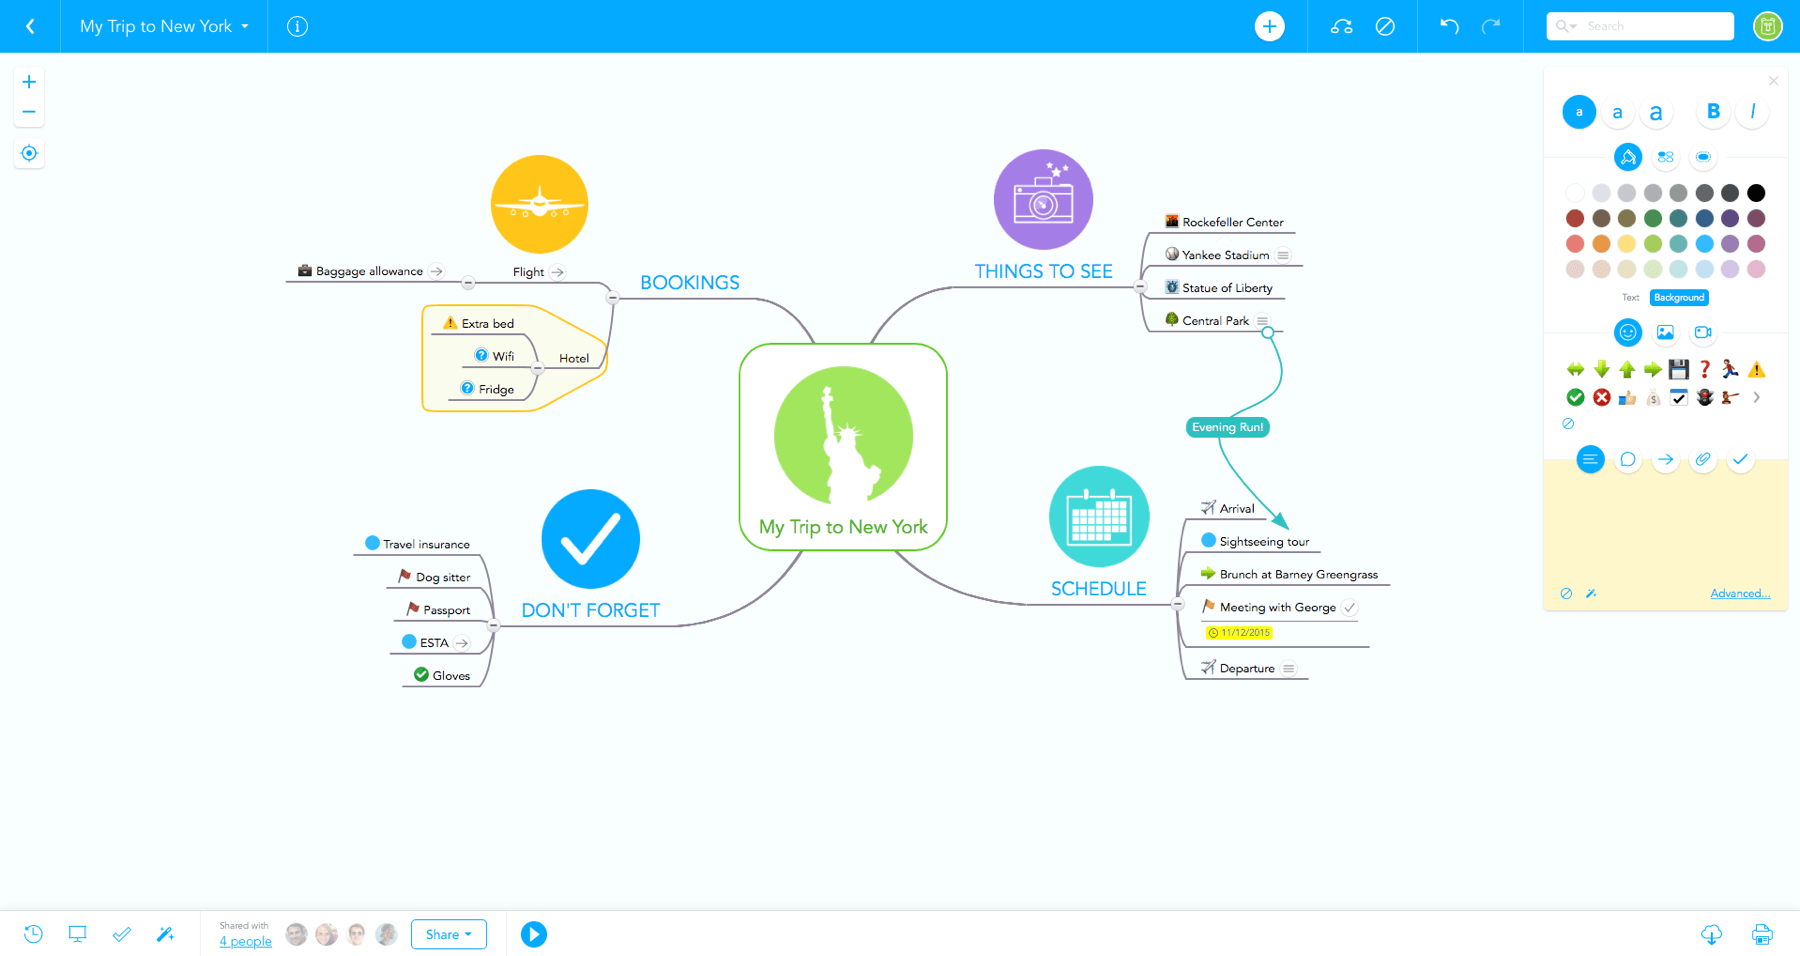
Mind maps- Popplet is a great tool to create mind maps. It is an iOs map, as well as a website. This can be used to do vocabulary maps, to organize ideas for writing, and as a note taking form during research. Mindmeister is a free tool similar to Popplet, but is a Chrome app. You can create mind maps and workflows.

Word Clouds- Tagxedo is a website, Word Clouds is an iOs, Quora is a Chrome app. All of these tools allow you to input a group of words and create a cloud of words. Students can paste words from their own writing, copy and paste from primary source documents, and many other ways.

For how to guides on these tools and more, check out my blog: www.nancypenchev.edublogs.org.
Nancy Stone Penchev is a Coding/I LAB Teacher and Instructional Technology Coordinator for grades K-5th grade. She has 18 years of teaching experience. Her degrees include a Bachelor’s in Elementary Education, Masters in Early Childhood, Masters in Instructional Technology, and she is currently working toward an EdD in Instructional Technology and Distance Learning. Nancy’s conference presentations include local, state, and international conferences. She has published articles about technology in Teaching in the Middle magazine, Association of Middle Level Educators, ISTE point/counterpoint, and was a focus for an article from Coca-Cola on 9 Ways Technology is Transforming the Classroom. She is an ambassador for Weebly, Commons Sense Media,and Wonder Workshop and was a local award winner for the National Council for Women in Information Technology.


Sunday, November 27, 2016

EdCamp Queen City: Makerspace, Motivation and Much More

By Dr. Nancy Betler
Picture
Picture

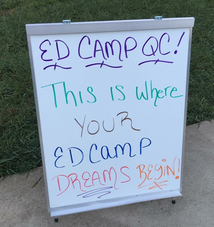
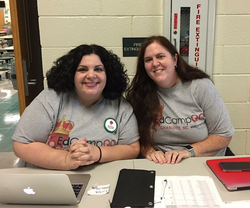
On October 1st the third annual EdCamp Queen City (@EdCampQC) was held at Barringer Elementary School in Charlotte NC.  EdCamps are an incredible trend in professional development where the participants guide the training.  I was fortunate to once again be part of a group of dedicated educators who organized this event.  It was an exciting Saturday of learning and growth!
The day started with an overview of EdCamps given by Nathan Stevens (@nathan_stevens).  Nathan shared how the day would run and that the participants had an opportunity to attend sessions that they felt best met their learning needs. The participants not only choose the sessions at EdCamps that will be offered that day but also decide which of those sessions best meet their individual professional needs.

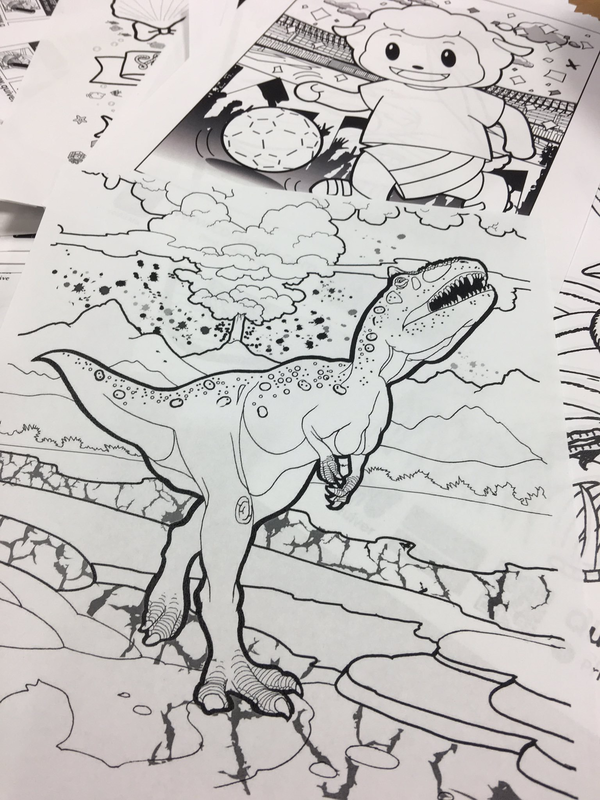
One of my favorite parts of the day was the MakerSpace. In the MakerSpace teachers were able to test out and learn about different tools to use with their students.  Something new I learned about while in the MakerSpace was the augmented reality app Quiver (@quivervision).    Students are able to color and draw pictures and then see them come to life! This is a great tool to use with your students for story writing.  Since EdCampQC I have used this app with several of my students and have seen an increase in not only the amount of text but in the details in their writing.

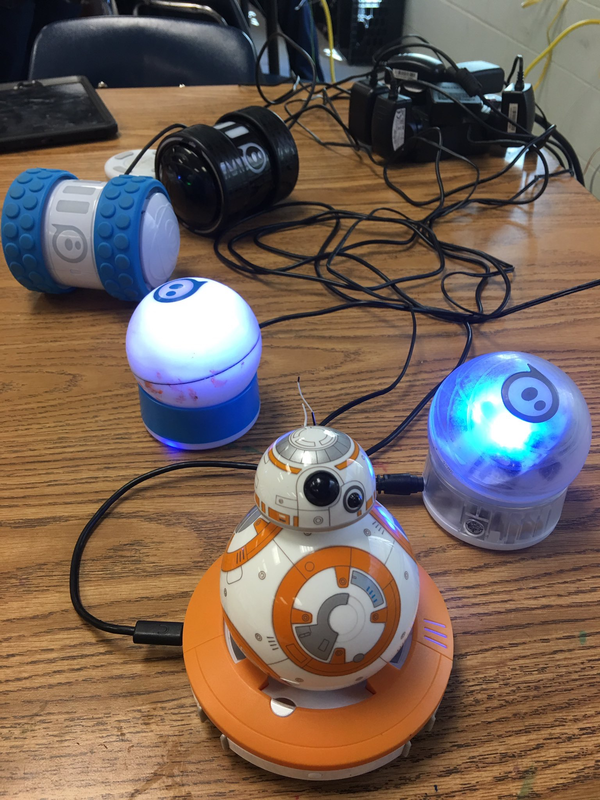
Another tool that I enjoyed using that day was Sphero (@sphero).  I have used Sphero before with my students but loved seeing all the different Sphero options available.  The brainstorming of ideas with other participants was also amazing!  I learned new strategies to use with my students.  I came back after EdCampQC and was able to share a lesson, Rate Time and Distance, which another teacher suggested with my students.   This lesson is part of the SPRK education program website but I had never used it before.  My students loved it and I plan to use more lessons off the site.

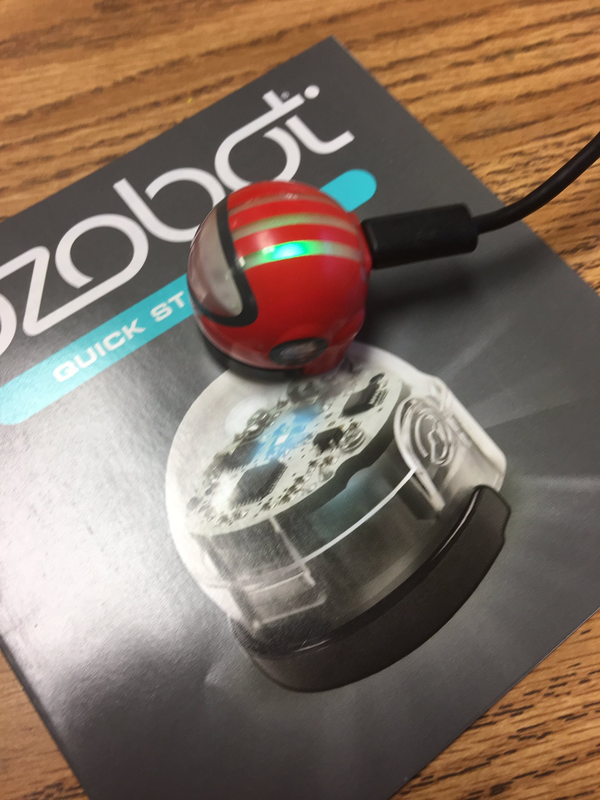
Ozobot (@Ozobot) is a robot that I had heard about and seen in use but had never used myself prior to EdCampQC.  Ozobot is a tiny robot designed to teach kids coding and programming basics.  It is an engaging and easy robot to use with younger as well as older students.  One idea that was shared was having the Ozobot be Little Red Riding Hood and having Kindergartners code how she gets to Grandma’s House!  With Ozobot students have the opportunity to be creative and have fun while they learn.     

Picture

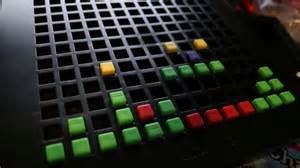
Bloxels Builders (@bloxelsbuilders) is another tool that I was able to use in new ways as a result of the MakerSpace.  Bloxels is a hands-on platform that gives kids a chance to build, collaborate and tell stories through video game creation.   There is a free app available as well as a board that you can purchase.  I am currently hoping to get five sets of the board through my Donors Choose (https://www.donorschoose.org/project/creativity-and-critical-thinking-through/2285129/) project.  One teacher in the MakerSpace shared how she is using Bloxels to help students visualize their creations prior to writing.  This is just one idea I hope to use in the future with my students.

I love MakerSpaces and found the one at EdCampQC to be extremely valuable. I spent a lot of my time at EdCampQC in the Makerspace.  I appreciated sharing and learning about strategies and resources to use with my students.  I finally left the area to attend other sessions but found it to be one of my favorite parts of the day.

After leaving the MakerSpace I went to the session on Breakout EDU (@BreakoutEDU).  Although there were many valuable and interesting sessions available this another area that really peaked my interest.  I had attended a session on Breakout EDU at EdCamp Foothills (@Edcampfoothills) but wanted to learn even more about it.  I appreciated the participant and leader excitement and the group was able to breakout!  The more I see this tool in action the better I understand it and the different applications it can have in the classroom.  There are hundreds of free lessons on the Breakout Edu website and they are not only student but teacher friendly.  I love this creative tool and look forward to using it with my students.

As I end this blog post I feel that it is important to note that EdCamps are made even more special through the support that teachers receive from the different educational companies. Squirrels (@squirrels) donated our lunch that day. Yum!  It made everyone’s day to feel so appreciated. Teachers also had the chance to win fabulous door prizes to use in their classroom.   As I have said before it is fantastic that so many different education companies understand the value of EdCamps.  Thank you to Squirrels and all the other companies that donated that day!

EdCamps are amazing and I love to attend them.  I always leave with new strategies and ideas.  I also love the fact that I helped to make this particular EdCamp a success.  I can’t wait to start planning the fourth EdCamp Queen City!

Picture
Dr. Nancy Betler is a Talent Development Teacher at Eastover Elementary and primarily works with gifted and high-ability students in grades K-5.  As a National Board Certified Teacher, she fully embraces life-long learning and has recently earned her doctorate degree.  Nancy is also heavily involved with the North Carolina Association of Elementary Educators (NCAEE) and serves as a Board Member. She looks forward to connecting with you on Twitter @nbetler and being a part of your PLN!

Thursday, November 10, 2016

Blended Learning for K-2 Students

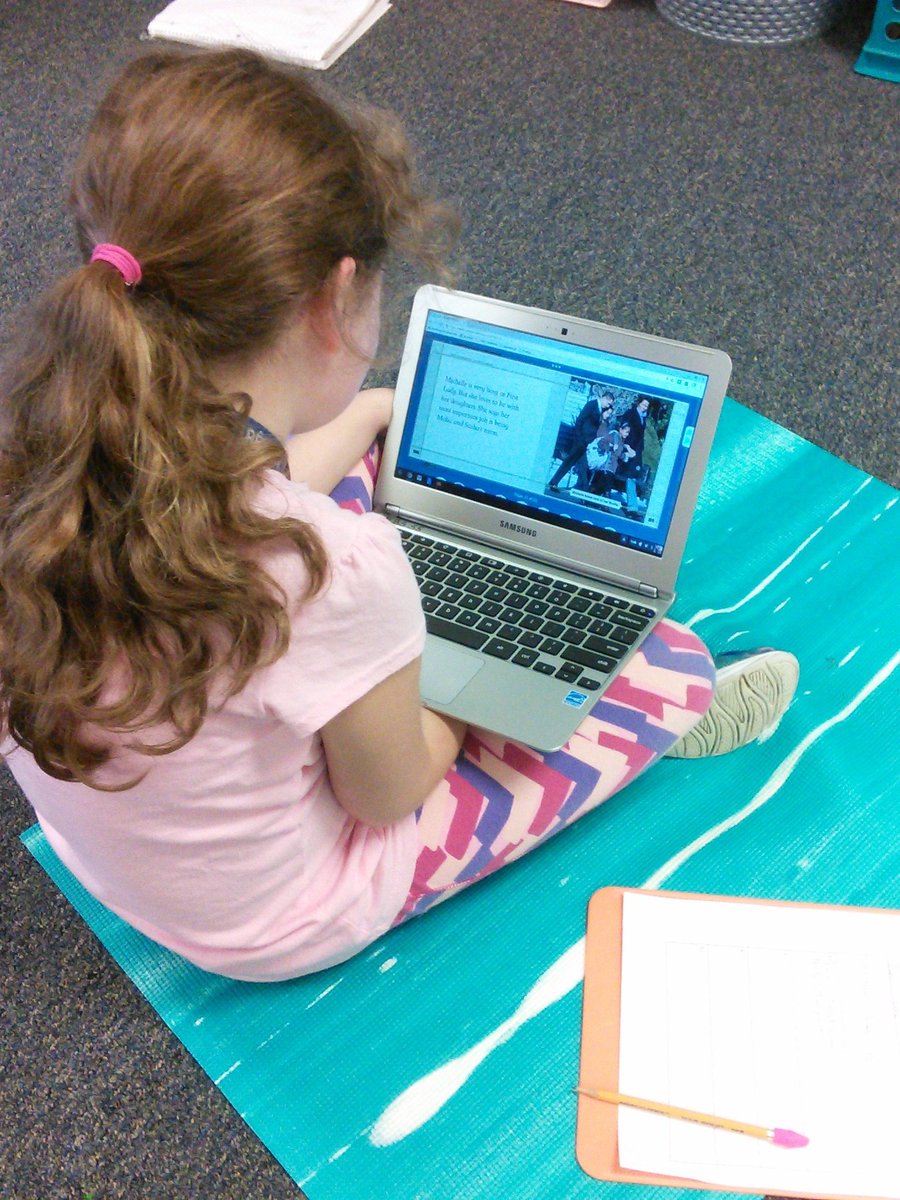
4.jpgHave you been interested in blended learning in the K-2 classroom but are hesitant to dive in? Have you been told that your students are just too young to truly utilize Chromebooks and tablets? Think again! Read on to find out how two second grade teachers transformed their classrooms into a blended learning environment and how it has impacted their students.


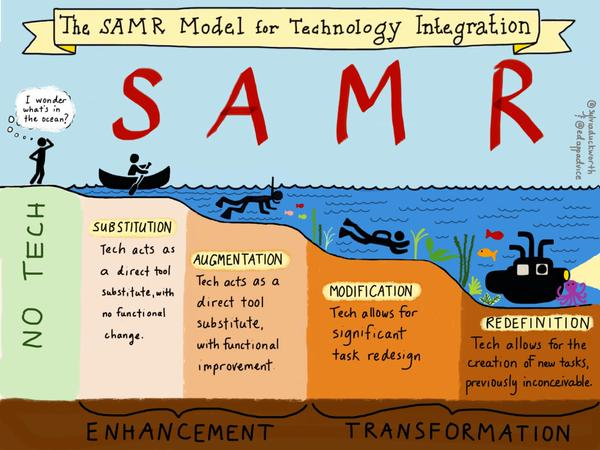
Last year, various teachers across Franklin County participated in a series of professional development sessions know as “EmpowerED”. These were led by Dr. Lisa Hervey from The Friday Institute at NC State. I (Alyssa) had the privilege of being part of this team! In these sessions, we  focused on stepping out of our comfort zone and integrating technology in various ways across the curriculum.  At first,  as a second grade teacher, I was thinking “how could I ever get my kids to do this!” But luckily in each session we got “PLEARN” time, where I could use the tools and start creating things that could work for my students. Before I knew it, my excitement for blended learning grew! As soon as I got back, I pulled Claire into my room and showed her EVERYTHING we did! She jumped right on board with me and we started planning how we could make this work! To start, we focused just on the “substitution” step of the SAMR model. This seemed most realistic for our students who still struggled to log in, find the keys on a keyboard, and know how to work a mouse!


As soon as Alyssa filled me (Claire) in on what they had been doing in their sessions, I was instantly hooked - and I knew that if WE were this excited about it, our kids would be over the moon! As Alyssa mentioned, we knew that we had to keep it simple to start with - and, full disclosure - majority of the time, we are still in the “substitution” phase of the SAMR model. Make sure that if you are wanting to implement some of the things we discuss, you move at a pace that works for YOUR students - if you throw too much at them too quickly, you won’t have the outcome you’re hoping for. Start small, and start smart.

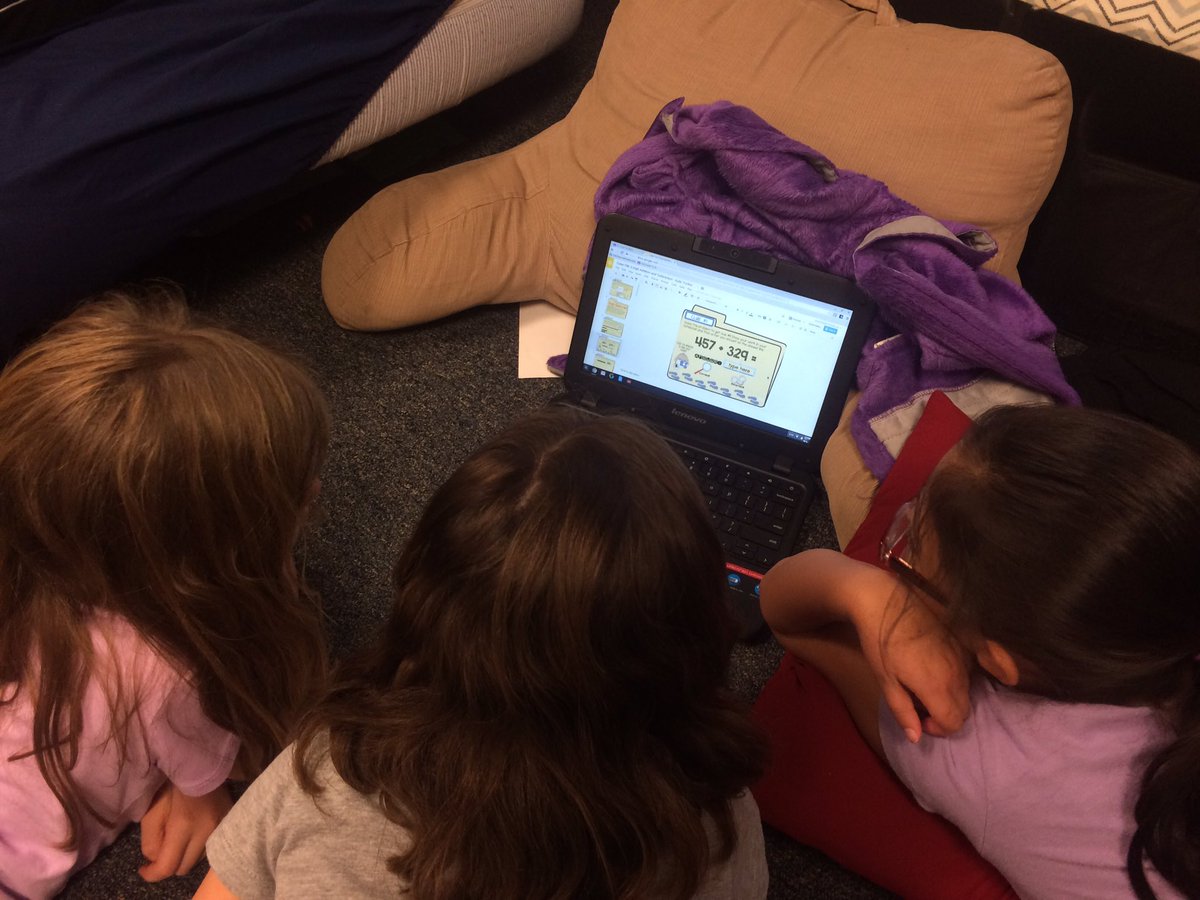
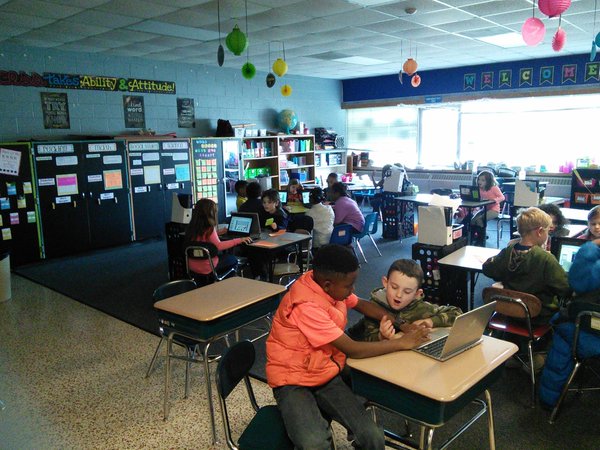
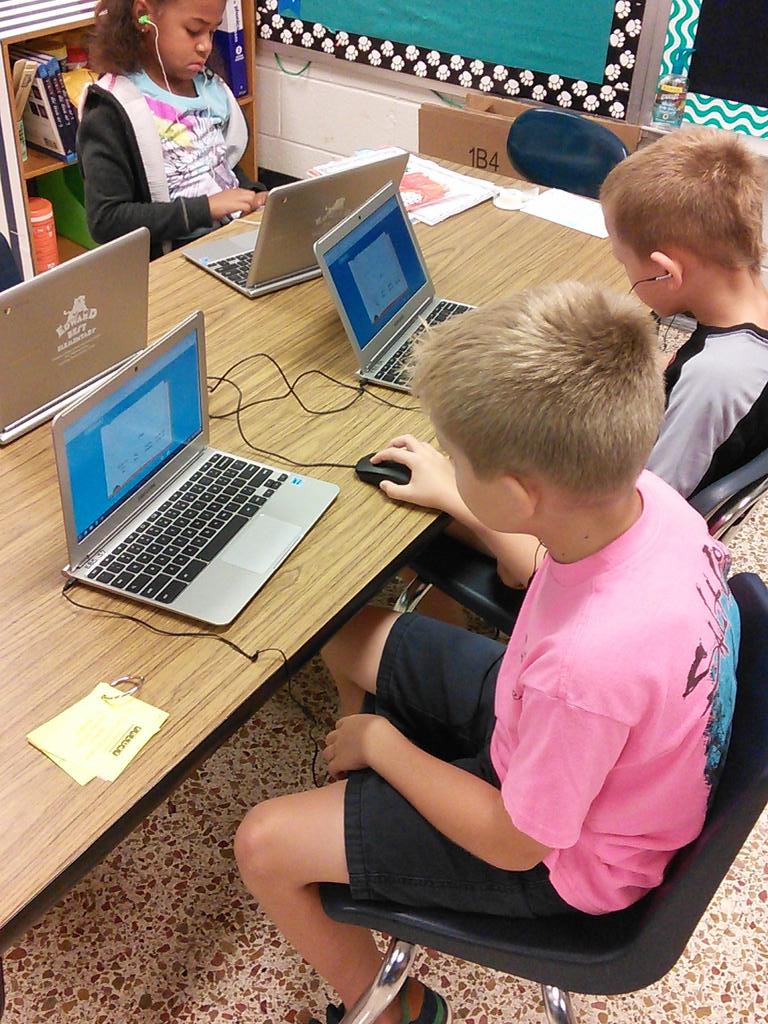
6.jpgWe know that the distribution of technology across classrooms in North Carolina (and the country itself) is grossly unequal. There are classrooms that are 1:1, and unfortunately there are also classrooms that consider themselves lucky to even have one desktop. The best part about implementing this model of blended learning is that with creative planning, it can be done with any amount of devices. When we started this journey, we each had two Chromebooks, two tablets, andtwo desktops (did we mention that we had 27 students? Don’t let your class size deter you either!) See if you can borrow technology from other grade levels - chances are that someone is at lunch or recess during the time that your kids might need devices and hopefully they are willing to share! Donor's Choose is another great option! Organize who is using which device in a way that makes sense to both you and your kids. Labels will save your sanity - assign certain students to each device so that their log-ins can be stored and they won’t have to enter their usernames/passwords each time. Alyssa is a master at organizing  the devices in a way that was equal for our students - she was able to create a rotation schedule that gave students both individual time and time to work with one another on the computers. This set-up was honestly the most time consuming part - but the payoff is worth it!

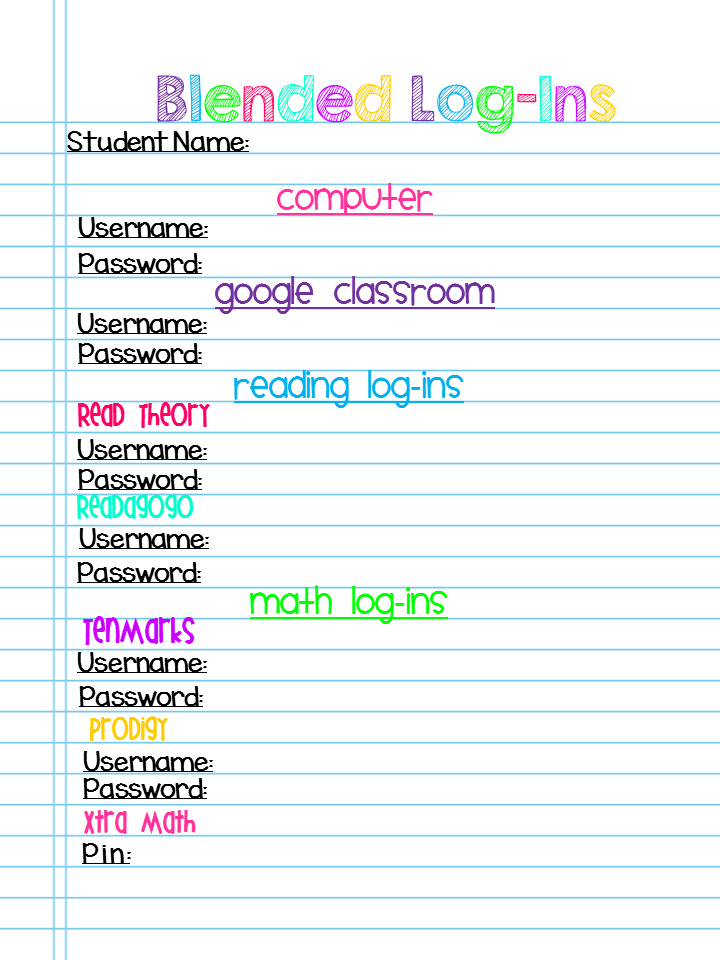
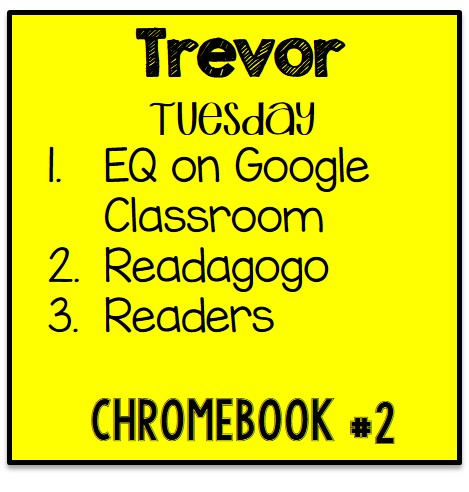
2 - Copy.jpgSlide2.PNG9.jpgWe chose to focus on implementing blended learning in ELA last year. Students had specific schedule cards (see Trevor’s on the left) and a log-in sheet inside their “Blended Folder” with every username and password they will need!  That way they have a one stop shop for log-ins for any activity they are doing! Utilize free sites first - ReadTheory, Epic, ReadWorks, TenMarks, and Prodigy  are just a few sites where you can create profiles for your students and track their progress. Google  is a life-saver when it comes to linking websites and assignments for your students. Tackk is also a great tool to link websites in one common area that is kid friendly and teacher friendly!  EDpuzzle can also be linked through Google Classroom and you can use it to create a video lesson on nearly any topic you teach! Keep an  out for grants and trials that some websites run. We were fortunate last year to receive a year’s subscription to Headsprout simply by applying for their teacher grant. The money is out there! 


No matter the amount of devices you have access to, the resources that your school allows you to use, or your number of students - the most important thing to remember is that you have to start SOMEWHERE. Choose one subject area and focus on that. Trying to implement blended learning across your curriculum from the start will more than likely leave both you and your students frustrated. Find another teacher to collaborate with. They don’t have to be in your grade level or even at your school - but you will need someone to bounce ideas off of and reflect on the process in general with. Our students will have jobs that haven’t even been invented yet - if we aren’t putting devices in their hands and getting them to collaborate with one another (both in-person and online), then we are doing them a great disservice. Our students are our future and as teachers we need to prepare them as much as possible to be successful! 

Please feel free to contact us with any questions! We would be more than happy to help you and your students! 

1.jpg5.jpg


About the Authors

Alyssa Kinary grew up in Saratoga Springs, New York and graduated from The College of Saint Rose with a B.S. in Elementary and Special Education and a MSED in Literacy. This is her third year teaching second grade at Edward Best Elementary School in Louisburg, North Carolina. She is currently a part of the EmpowerED and Differentiation teams for Franklin County Schools. 

Contact email: alyssanorthburg@fcschools.net

Claire Roehl is in her fifth year of teaching second grade at Edward Best Elementary in Louisburg, NC. She graduated with her B.A. in Elementary Education and her M.Ed in Elementary Education, both from the University of North Carolina Wilmington. She is a member of the Gamma Tau chapter of Delta Kappa Gamma, is a board member of the Franklin County Education Foundation and was recently selected as Franklin County’s 2016 Teacher of the Year. 

Contact email: claireroehl@fcschools.net


Monday, October 24, 2016

Reflections & Connections on 13th Elementary School Conference


Our 13th Annual NCAEE Conference was last weekend and my brain is still reeling from all of the fabulous information I learned.

Keynote

Hearing Kim Bearden was an experience I will never forget.  She is such an inspiration!


Kim reminded me that I always need to forgive others.  I need to find my passion and focus on the art of teaching.  I must remain positive and surround myself with people that are great examples of teaching. Above all, when a teacher has an effect on a child, you essentially affect thousands of others.


Connections

I was able to make connections with so many people in so many ways.  Social Media is a great tool with which to gain ideas and connect.  My followers on Twitter tripled and I am anxious to see how they push me to become a better teacher!  I even made friends with people outside of my county!  I love my PLN!


Presentations

I learned so much through the sessions!  Justin Ashley is such a creative teacher!  He inspires me to take my learning to a whole new level with making my classes more exciting!  I now want to be Ms. Frizzle in Science Class!

Jamie Deming really helped me to see Interactive Notebooks in a whole new light.  I want them to be truly interactive and student-centered, not solely teacher-directed.

Laura Candler motivated me to become a better grant writer and to list more on Donors Choose.  She had some fabulous ideas.  They are so easy to implement and every little bit helps when it comes to your classroom!

Kathy Bumgardner is always fabulous!  My reading lessons have never been the same since I heard her speak the first time.  She has created ingenious tools to help students take ownership of their learning.  They are so simple to use that I was able to go back to school on Wednesday and use them!

Jen Jones had fabulous ideas on how to market my TPT account and make some money!  I really enjoyed learning some great ways to “expand my brand” and supplement my teacher salary.

Vendors and Door Prizes

We had some fabulous vendors from
various publishers, to IESS, and the Biltmore House!  We even had jewelry, purses, and GoNoodle!

There were giveaways and prizes galore!  At the end of the event, some teachers took home prizes from NCAEE or our various vendors.  Who wouldn’t want to win a trip for two to the Biltmore House?

I wish I had been lucky enough to win a door prize, but there is always next year.  I do, however, feel like I won something else: more knowledge to take back to my classroom, more experiences, and more friends that inspire me to become a better teacher.  I cannot wait for our regional conference in the Spring and for next year’s State Conference!

About the Author

Megan Charlton is a third grade STEM Teacher at Patriots STEM Elementary School in Concord, NC.  She has taught Kindergarten, Fifth Grade and Third Grade.  She is in her 12th year of teaching, all of which have been in North Carolina.  She graduated from Kentucky Christian University with a B.S. In Elementary Education and Bible.  Mrs. Charlton has recently joined the NCAEE Board as Teacher At Large.  She blogs at www.CharltoninCharge.com.